Key Takeaways
- Homeline load centers can be converted from sub-panels to main panels.
- Proper installation of ground bars is essential for safety and function.
- Various ground bar sizes are available to suit different needs.
Overview of Convertible Homeline Load Centers
Convertible Homeline Load Centers are versatile electrical panels suited for various applications. You can initially use these load centers as sub panels but can easily convert them to main panels by adding a main breaker. This adaptability is why they earn the name "convertible."
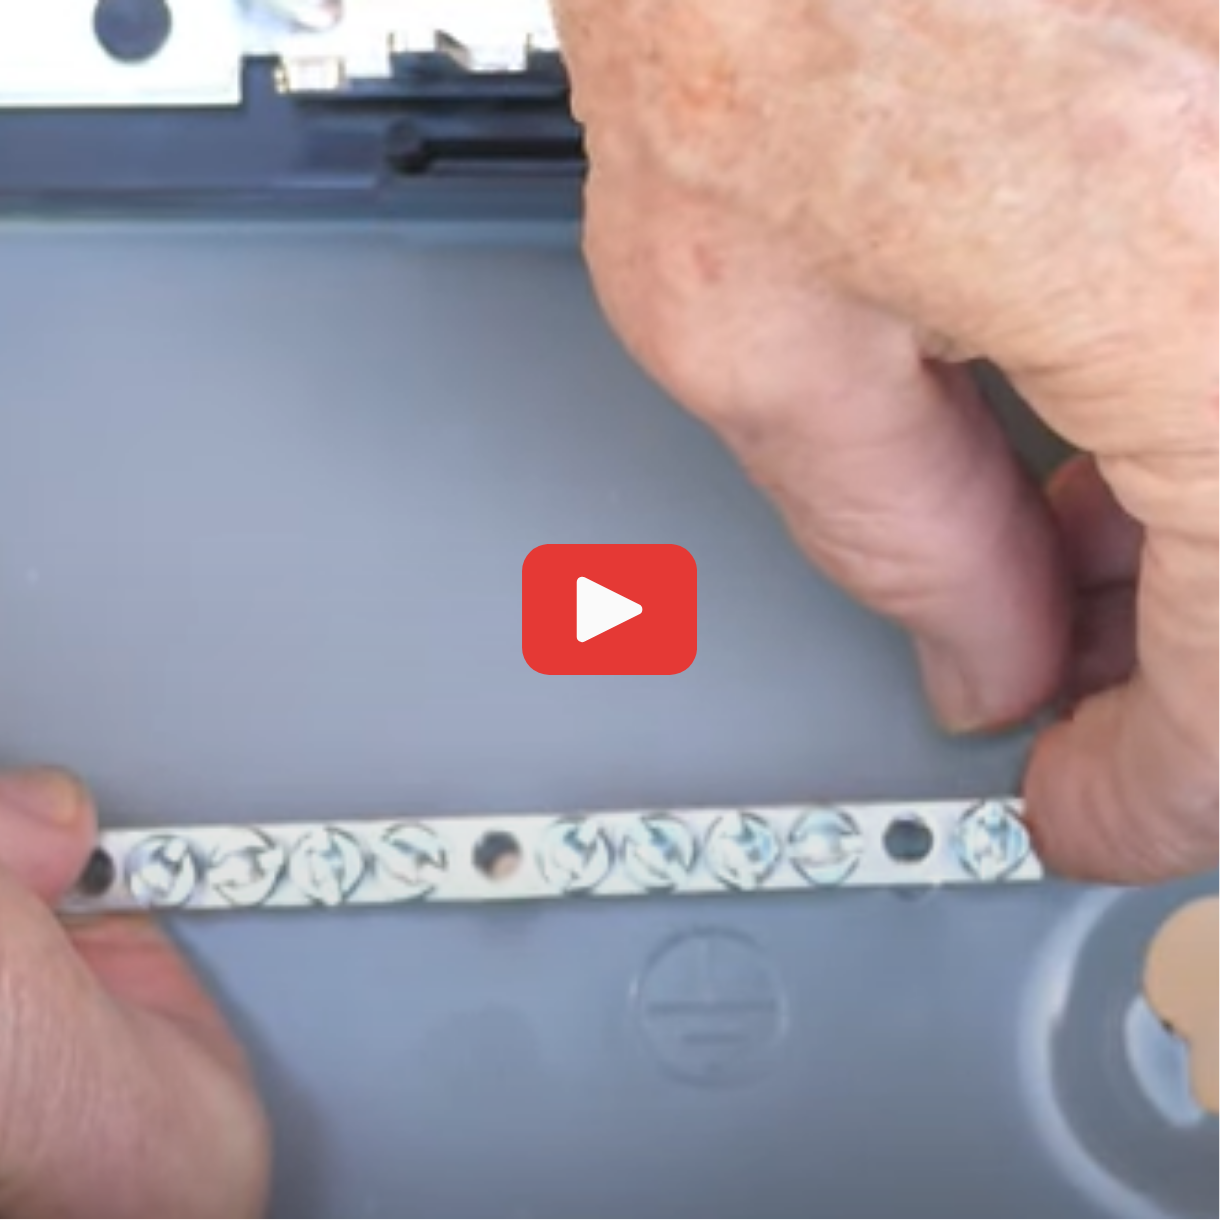
The installation of ground bars in Homeline panels is crucial for proper functionality. Within each panel, you have options between ground bars with different terminal counts and configurations, such as ground bars with nine terminals or fifteen terminals, including a lug terminal. Select the ground bar that best meets your needs. These ground bars range between $10 and $20.
Installation locations in the load center are marked with ground symbols and feature holes for screws and nubs for convenient installation. You have multiple placement options on three sides of the load center, ensuring that the ground bars don’t interfere with any wires like service entrance cables or feeder cables. Properly placed ground bars prevent issues such as cable chafing and ensure ease of wire attachment.
When installing ground bars, the method varies slightly depending on your approach. If you use two nubs and one screw, tighten screw C to 30 pound-inches. Alternatively, if using two screws without nubs, the same torque applies. Having the right tools, such as a torque screwdriver set at 30 pound-inches, will ensure you can securely and safely install your ground bars.
Ensure your ground bars are placed safely and offer easy access, maintaining clear pathways for wiring.
Ground Bars and Their Installation
Components and Options
When working with Homeline load centers, you'll encounter ground bars that come in different sizes. The primary options include bars with nine terminals, sixteen terminals, and an additional lug terminal. Economically priced between $10 and $20, these ground bars allow flexibility based on panel requirements. Additionally, it's crucial to choose the right ground bar for your panel's brand, as they are not universally interchangeable between brands like Eaton or Siemens. Homeline ground bars also fit on the Square D QO line of load centers.
Installation Sites within Load Centers
Inside the Homeline load center, potential installation sites for ground bars are marked with a ground symbol. On the left side,, you'll see two nubs and a screw hole. The bottom, farthest from the main lugs, offers another symbol, nubs, and a hole for secure fastening. The opposite side features similar configurations. This arrangement helps you locate ground bars optimally to avoid service entrance cables and feeder cables.
Proper Placement for Safety and Convenience
Installing ground bars correctly is vital for safety and efficiency. Poor placement can cause feeder cables to chafe against the bar, posing hazards and obstructing wire connections. Follow these steps for proper installation: align the ground bar with the designated nubs and screw hole, drive the screw into place, then torque it to 30 pound-inches using a precision tool like a torque screwdriver. Ensure the ground bar remains unobstructed by surrounding cables, which will facilitate easier installation and maintenance.
Torquing Specifications
Torque Requirements for Different Installations
When installing ground bars in Homeline panels, it’s crucial to torque the screws to 30 pound-inches to ensure a secure and safe connection. Whether using the installation method with two nubs and one screw or opting for two screws without nubs, the requirement remains consistent at 30 pound-inches.
Using a Torquing Screwdriver
Utilizing a torquing screwdriver, like a Wiha model, simplifies the torquing process. Set your screwdriver to 30 pound-inches and tighten it until it clicks, indicating the appropriate torque is achieved. This ensures your ground bars are installed correctly, reducing the risk of interference with wiring and promoting safety within the load center. It’s advisable to choose a ground bar that fits your needs to maintain easy and safe wire management.
Final Recommendations
When installing ground bars in a Homeline panel, keep the following points in mind to ensure a safe and effective setup:
-
Select the Appropriate Ground Bar: Choose a ground bar that meets your specific needs. Options vary in the number of terminals, such as 9 or 15, and prices range between $10 and $20. Ensure compatibility with your panel brand, such as Homeline or Square D QO.
-
Optimal Placement: Position the ground bar to prevent interference with service entrance cables, feeder cables, or branch circuit wires. Place the ground bar in areas indicated by ground symbols and use nubs or screw holes as necessary, but avoid obstructing other cables and wires.
-
Proper Torque Specification: Utilize a torquing screwdriver set to 30 pound-inches for securing screws. Whether using two nubs and a screw or two screws with no nubs, torque the screws to the specified setting for secure installation.
-
Versatility in Placement: There are multiple areas within the load center that allow for ground bar installation. Consider the positioning flexibility to ensure safety and convenience.
-
Safety First: Avoid placing cables over the ground bar to reduce the risk of cable chafing and to maintain ease of access when attaching various ground wires.
Ensure tools such as the Wiha torquing screwdriver are at hand, and assess each installation for the specific requirements of your panel configuration.

