Key Takeaways
- Learn to wire each bedroom on a separate circuit.
- Explore positioning and installing switch boxes.
- Understand efficient wiring techniques for ceiling fans.
Circuit Planning
When wiring your own house, you need to consider the circuit strategy for optimal convenience and safety. Each bedroom should ideally be on its own circuit. This means having a dedicated breaker and home run from the panel box to the room. Why? Because it allows you to turn off the power for the entire room with a single breaker. This ensures that lights, outlets, and other electrical components are deactivated efficiently.
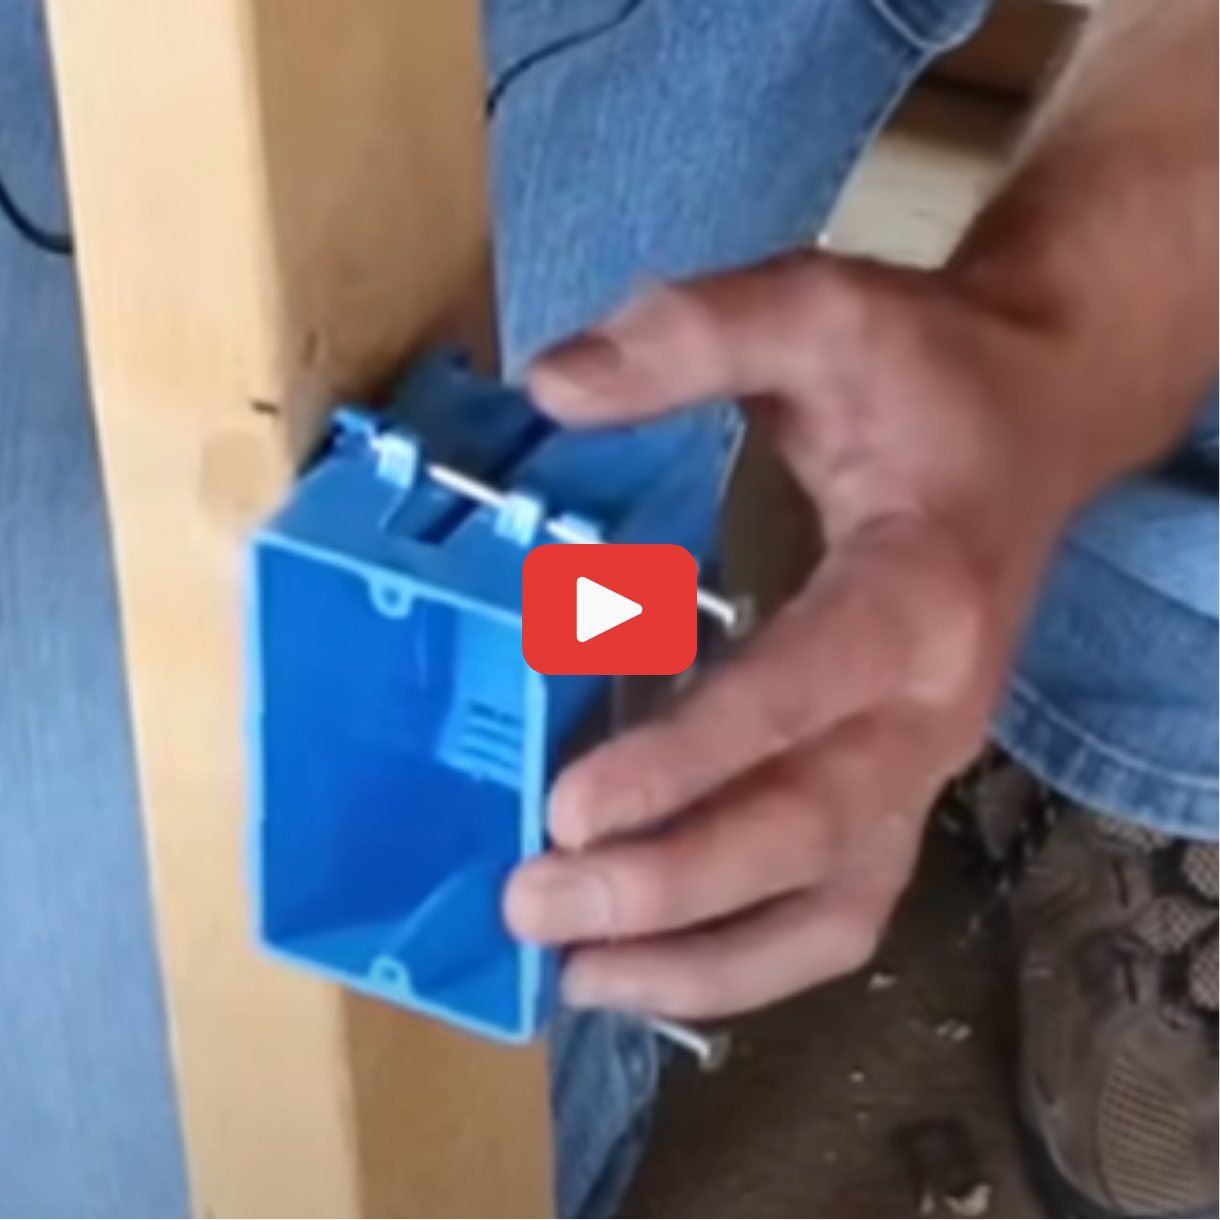
Begin by installing the switch box, which will control both the ceiling fan and the lights. Opt for a two-gang box, providing space for two switches. Position the switch box with precision: mark four feet on the stud and align the box at the top of this mark. This setup ensures consistency throughout the house and keeps the drywall flush. Place the switch on the doorknob side of the door for easy access when entering the room.
For ceiling fan installations, use Saddle Boxes. These boxes are designed to handle the weight of ceiling fans or heavy fixtures. Center the box in the room, and if the area lacks a central rafter, install a block between rafters. Run 12/3 wire from the switch box to the Saddle Box using a half-inch drill bit. Ensure the wire is flat and untwisted as it reaches the switch box, and leave about five inches of wire outside the box. It's important to wait on stapling the wire until all necessary wires are in place.
To space outlets correctly, apply the "612 Rule." This rule states that outlets should not be more than 12 feet apart and within 6 feet of a door. Additionally, any wall over two feet long requires a receptacle. This spacing ensures compliance with code requirements and provides practical access to power outlets across the room.
Switch Box Installation
Determining Height
When installing a switch box, mark four feet on the stud where you plan to anchor it. Decide whether to set the switch box at the top, center, or bottom of this mark. Placing it at the top provides a precise reference point. The box has flanges that butt against the stud, allowing for half an inch of space for drywall to sit flush.
Mounting the Box
The switch box used is a two-gang box, designed to hold two switches. Align it on the marked stud and ensure that the flanges are positioned correctly. Hammer the nails in to secure the box, ensuring it remains firmly in place. This box will also be the entry point for incoming power.
Location Relative to Door
Always install the switch box on the door knob side of the door. This allows you to easily reach in and activate the switch as you enter the room. This positioning ensures a convenient setup for lighting and fan controls right as you step inside.
Ceiling Fan Wiring Preparation
Saddle Box Overview
The saddle box is a specialized product designed for mounting ceiling fans or any heavy light fixtures. Its design allows it to cradle seamlessly over a rafter or floor joist, providing the necessary support for the fixture's weight. This method simplifies installation and ensures a secure hold. Purchasing one can add convenience to your wiring task, and it might be available in stores or through affiliate links, offering a small commission but no extra cost to you.
Finding Room Center
Locating the room's center is crucial for balanced fan installation. Start by measuring and marking the center point of the room. If your center aligns with a rafter, that's ideal. Otherwise, consider blocking between rafters to create a mounting point. This preparation helps ensure your ceiling fan hangs correctly and is properly supported, especially critical for heavier fixtures.
Mounting the Saddle Box
Once the center of the room is found, mount the saddle box there. Use the small screw that accompanies the box to initially secure it in place. Later, after the drywall has been installed, additional lag bolts will anchor it firmly. Keep in mind that the lag bolts are responsible for bearing the fixture's weight, providing stability to your installed ceiling fan or light.
Running the Wires
Drilling for Wiring
To start wiring, you'll need a half-inch drill bit for 12-3 wire, as it includes three wires within one casing. Locate the stud that anchors the switch box, and drill through the plate of the wall, ensuring to stay centered.
This approach ensures no interference with other wall elements, creating a direct path for the wire to travel through smoothly.
Routing 12-3 Wire
When routing the 12-3 wire, unravel it from the spool carefully to avoid twists. Flatten the wire as you guide it from the switch box to the designated location, such as a saddle box for a ceiling fan.
Allow approximately five inches of wire to extend from the switch box. This excess length makes it easier to connect and adjust as needed. Use wire cutters to trim and secure it, preparing for the subsequent connections.
Electrical Outlet Boxes
Understanding the 6-12 Rule
The 6-12 rule plays a crucial role in ensuring proper placement and spacing of electrical outlets in residential construction. This rule dictates the maximum allowable distances when installing outlets in a room. You must ensure that outlets are placed no more than 12 feet apart on any given wall. Additionally, every wall wider than 2 feet must have at least one outlet.
Moreover, within 6 feet of any door, an outlet should be installed on either side. This ensures convenient access and follows safety regulations. When planning outlet placement, consider both corners of the room as well, where no point along the wall should be more than 6 feet away from an outlet. This setup maximizes functionality and complies with standard building codes, improving usability while maintaining safety.
Outlet Placement Strategy
For a strategic approach to outlet placement, you should first consider the room layout and usage. Begin by identifying the location of doors and corners. Install outlets at least 6 feet from doors and no more than 6 feet from any corner.
Next, take note of wall dimensions. If a wall exceeds 2 feet in width, it must feature an outlet. Consider drawing a room sketch with measurements to plan effectively. Using masking tape to mark outlet locations on walls can help visualize the setup before installation.
Incorporate a mix of single and double gang boxes depending on the specific needs and future flexibility for appliances and devices. Opt for the strategic placement of switches on the door knob side for easy access when entering or exiting the room. By adhering to these strategies, you assure both functionality and compliance in the home’s electrical system.