Key Takeaways
- Volt Claw models are designed for various electrical applications.
- Both models are lightweight and non-conductive for safety.
- Ideal for residential, commercial, and industrial wiring needs.
Introducing Volt Claw
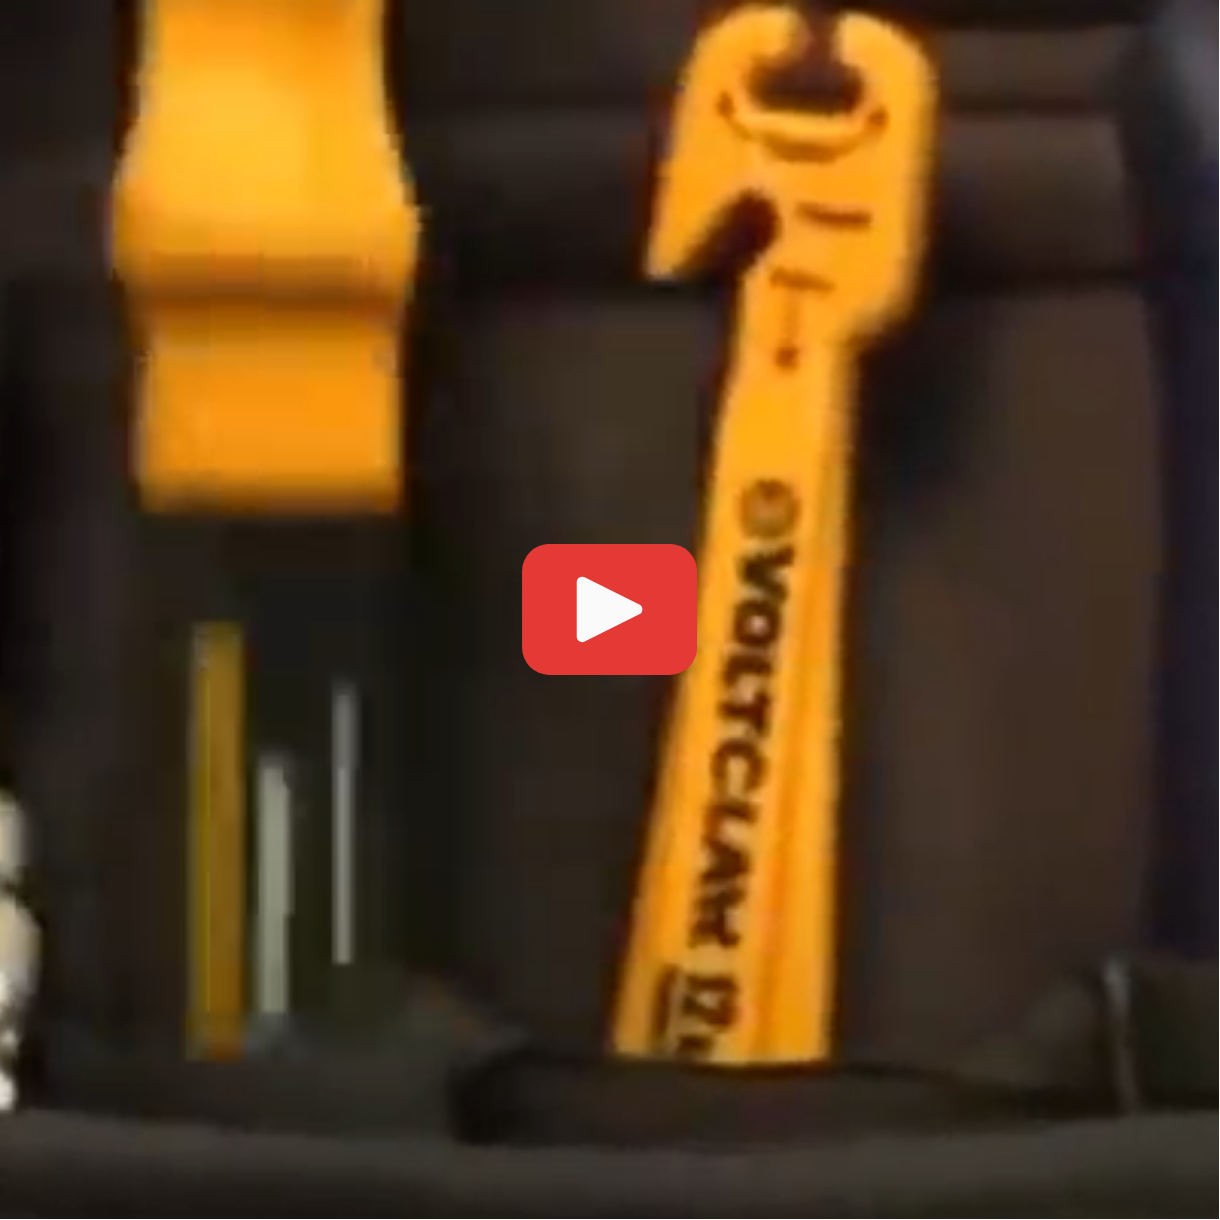
Volt Claw is designed to safely handle electrical wires with a lightweight, ergonomic design. It's essential for electricians to manage electrical systems in residential, commercial, and industrial settings. Volt Claw can pull, bend, loop, and reload wires effortlessly.
Volt Claw 12 Gauge:
- Handles 12 to 14 gauge wire.
- Ideal for residential and light commercial applications.
Volt Claw Multi Gauge:
- Accommodates 6 to 14 gauge wire.
- Features a hook sliding thumb mechanism and grab claw.
- Suited for industrial use.
Both tools enable electricians to work efficiently without the risk of electric shocks. Visit voltclaw.com for more details.
Volt Claw Models
The Volt Claw offers two distinct models tailored for different electrical tasks. Both models prioritize non-conductivity, safety, and efficiency in handling electrical wires.
Volt Claw 12 Gauge
Designed for 12 to 14 gauge wire, this model is ideal for residential and light commercial applications. Key features include:
- Pulling Wire: Designed to pull wire without damaging insulation.
- Looping Wire: Easily loops wire for secure connections.
- Loosening Wire Nuts: Efficiently loosens both wing and ribbed wire nuts.
- Loading Boxes: Innovative V-groove tip for easy wire placement.
Volt Claw Multi Gauge
The industrial-grade Volt Claw Multi Gauge handles 6 to 14 gauge wire. It’s perfect for larger scale projects and comes equipped with:
- Hook & Sliding Thumb Mechanism: Provides precision and ease in wire manipulation.
- Grab Claw: Effortlessly pulls wire from junction boxes and service panels.
- Versatility: Works side-by-side with the 12 Gauge model for a wide range of applications.
Common Features
Both models share several features designed for electrician convenience and safety:
- Lightweight & Ergonomic Design: Reduces hand fatigue and increases control.
- Non-Conductive Materials: Prevents accidental electrical shocks.
- Precise Handling: Ideal for manipulating wires in tight spaces like four-gang switch boxes, GFCI sockets, and more.
These tools eliminate the need for fingers to reach into crowded electrical boxes and replace the riskier metal pliers. For more information, visit voltclaw.com.
Ergonomic Design and Applications
The Volt Claw stands out with a lightweight ergonomic design, making it an ideal tool for various electrical applications. Electricians can benefit from its ability to pull, bend, loop, and reload wires without the risk of electrical conductivity.
Key Features:
- Non-Conductive Material: Ensures safety by preventing electrical conduction.
- Ergonomic Handle: Designed for comfort and better control.
- Versatile Tips: Includes a V-groove tip and a hook sliding thumb mechanism for precision.
Applications:
Residential and Light Commercial:
- Effective for handling 12 to 14 gauge wires.
- Useful in GFCI sockets, light switches, timers, and motion lights.
Industrial:
- Handles 6 to 14 gauge wires with ease.
- Suitable for complex tasks in junction boxes and service panels.
Benefits:
- Safety: Eliminates the risk of electric shocks.
- Efficiency: Allows quick and precise wire manipulation.
- Convenience: No more reaching into crowded electrical boxes with fingers.
Overall, the Volt Claw offers a significant improvement over traditional metal tools, making it a must-have for both residential and industrial electrical tasks. Visit voltclaw.com for more details.
Klein Tools Battery-Operated Cutting Tools
Klein Tools has extended its expertise in cutting tools to the realm of battery-operated devices, offering innovative solutions for professionals in the field. When you utilize these tools, you benefit from the perfect combination of quality, durability, and advanced technology, all designed with the professional in mind.
Key Features
- High-Performance: These battery-operated tools match the performance standards expected from Klein, ensuring reliable and efficient operation.
- Durable Build: Built with longevity in mind, these tools withstand demanding work environments.
- User-Friendly Designs: Ergonomic designs promote comfort during extended use, reducing worker fatigue.
Available Tools
- Side Cut Pliers: Ideal for cutting through tough materials with precision.
- Ratchet and Cable Cutters: Provide the ability to manage various cable types effortlessly.
- Bolt Cutters: Efficiently cut bolts and other metal components with ease.
Applications
You can deploy Klein's battery-operated cutting tools across various applications:
- Electrical Construction: Essential for tasks involving substantial wiring and electrical components.
- Power Transmission and Distribution: Perfect for preparing, splicing, and terminating power cables.
Model Details
|
Tool |
Description |
Applications |
|
Side Cut Pliers |
Cuts tough materials with ease |
General cutting tasks |
|
Ratchet and Cable Cutters |
Handles various cable types effectively |
Cable management |
|
Bolt Cutters |
Cuts through bolts and other metallic components |
Metalwork and repair |
For more details about Klein Tools and their battery-operated cutting tools, visit their official website. Embrace the power of reliable and professional-grade tools, enhancing your efficiency and safety on the job.
Ripley's Utility Tool
With Ripley's Utility Tool brand, you have access to advanced wire and cable preparation tools designed for various applications in the power transmission, distribution, electrical construction, and maintenance industries. The LWS68 Snap is particularly noteworthy for its precision and efficiency.
Features of LWS68 Snap
- Power-Driven Wire Stripper
- Compatible with service entrance wire including THHN/XHHW and photovoltaic cables.
- Utilizes Ripley's 4x4 bushings, matched to cable based on conductor size and insulation thickness.
How to Use the LWS68 Snap
- Set the Strip Length: Align the red band to the scale mark and tighten the screw.
- Assemble the Bushing:
- Push the quick release collar upward to disengage the lock pin.
- Insert the selected bushing into the tool ensuring the crosshole aligns with the lock pin.
- Release the collar to lock the bushing.
- Prepare the Cable:
- Secure the tool into the drill.
- Ensure the cable is straight and properly aligned.
- Operate the drill at a slow speed and apply gentle forward pressure.
- Stop the drill when the insulation chip breaks off and then remove the cable from the tool.
Optional Drive Ends
- 3/8 inch drill drive
- 1/4 inch hex drive
- 3/8 inch square socket drive
- 1/2 inch square socket drive
To change the drive, use a hex key to loosen the screw, replace the drive, align the indent with the screw, and tighten.
Ripley's Utility Tool enhances your efficiency and precision on the job. For more details, visit ripley-tools.com.
Stripping Coaxial Cables
Stripping coaxial cables is an essential skill for anyone working with CA TV and video applications. Here's a step-by-step guide to help you accomplish this task efficiently.
-
Select the Right Tool: The UST 125 coax stripping tool is recommended for stripping RG59, RG6, RG6 tri and quad, RG7, and RG11 cables. It features a Velcro braid brush and a directional arrow to guide your turns.
-
Prepare the Tool: Depending on the size of the cable, place the blade in the tool accordingly. Make sure the selected blade cartridge is compatible with the cable type you are working with.
-
Insert the Cable: Push the cable into the tool until it reaches the blade stop.
-
Turn the Tool: Rotate the tool around the cable three to five times or until you no longer feel resistance. Follow the directional arrow on the tool for proper rotation direction.
-
Remove the Tool: After stripping, pull the tool off and gently remove the jacket and shield from the cable.
-
Brush the Braid: Use the braid brush to flatten the braid down the cable length.
Remember, the UST 125 model uses the UST 225 blade cartridge, capable of making over 5,000 cuts, ensuring longevity and efficiency in your tasks.
Speedy Sparky Wall Marking Tool
When using the Speedy Sparky to find positions on drywall, start by grabbing the tool and determining the desired height. Next, position the Speedy Sparky where you want the sockets to be placed. This allows you to install multiple sockets efficiently without shifting them too far apart.
Steps to Use the Speedy Sparky:
- Determine Height: Establish the desired height for your sockets.
- Position Tool: Align the Speedy Sparky in relation to the chosen spot.
- Mark Locations: Utilize the tool to mark multiple socket positions.
- Cut Out: Brown the sockets and cut out the marked areas for installation.
Key Features:
- Easy alignment ensures precise socket placement.
- Saves time by accurately marking multiple spots at once.
- Minimizes the risk of incorrect spacing between sockets.
With these steps, your job becomes straightforward and efficient.