Key Takeaways
- Learn to create a 3/8 inch box offset with 10-degree bends.
- Use a green cross-line laser level for precision alignment.
- Understand how to execute a three-point saddle bend and 90-degree bends.
Project Overview
Conduit Placement Task
You need to run a piece of EMT from the first box to the second box in a professional-looking manner. You only have one piece of EMT and a time limit of 15 minutes. Start by making a 3/8 inch box offset with two 10-degree bends. Next, create a three-point saddle bend to jump over a two-inch rigid nonmetallic conduit. Ensure the conduits are parallel with two-inch spacing between each.
Using a green cross line laser level is recommended. Make marks two inches apart to maintain alignment. For the bends, use a multiplier of six for 10-degree bends. The first box offset requires 2 and 1/4 inches spacing between bends. Line up the conduit with the bender arrows, and bend to 10 degrees twice in opposite directions.
For the three-point saddle bend, measure 33 inches from the start, adding 9/16 inches for shrinkage. Make outer marks 7 and 1/2 inches apart. Use the notch of the bender for the middle bend to 45 degrees, and bend the ends to 22 and a half degrees, keeping everything aligned.
Time Constraint and Material Limitation
Given a single piece of EMT and a 15-minute deadline, manage your time efficiently. Start by laying out your line using a level or laser for precision. The laser level helps maintain a straight, level line and avoids obstacles. Make all marks for bends and offsets accurately since you only have one shot.
Perform the box offset first, followed by the three-point saddle bend. Ensure all measurements are double-checked. Work methodically to keep everything concentric and parallel with existing conduits. Finally, create the 90-degree bends, keeping them aligned with the specified spacing to complete the task.
Tools and Materials
EMT
You will need a piece of EMT conduit. Make sure it's bent properly to fit the space and maintain a professional look by ensuring it runs parallel to existing conduits. Each bend, such as the 10-degree bends for the box offset and 22.5-degree bends for the saddle, should be measured accurately.
Green Cross Line Laser Level
The green cross line laser level is a crucial tool. This device helps you mark precise lines and angles. It projects both horizontal and vertical lines, making it easier to ensure everything is level and plumb. This tool is especially useful for overcoming obstacles and ensuring your conduit runs parallel and concentric with existing conduits.
Doyle 12-Volt Max Laser Level
This specific laser level model operates on a 12-volt max battery. The green light is clearly visible, allowing for precise markings. By using this tool, you can quickly and accurately plot your conduit path, saving time and ensuring precision even with stringent time constraints.
Box Offset Creation
Initial Measurements
Start by plotting the line for the conduit using a 12-volt max cross line laser level. You can use other methods, but this tool ensures that everything remains level and plumb. Begin by marking the positions where the conduit will run. The first offset distance has been chosen as 2 inches from the reference points. We will use 3/8 of an inch as the jump height, and a multiplier of 6 for 10 degree bends, yielding 2 and 1/4 inches between bends.
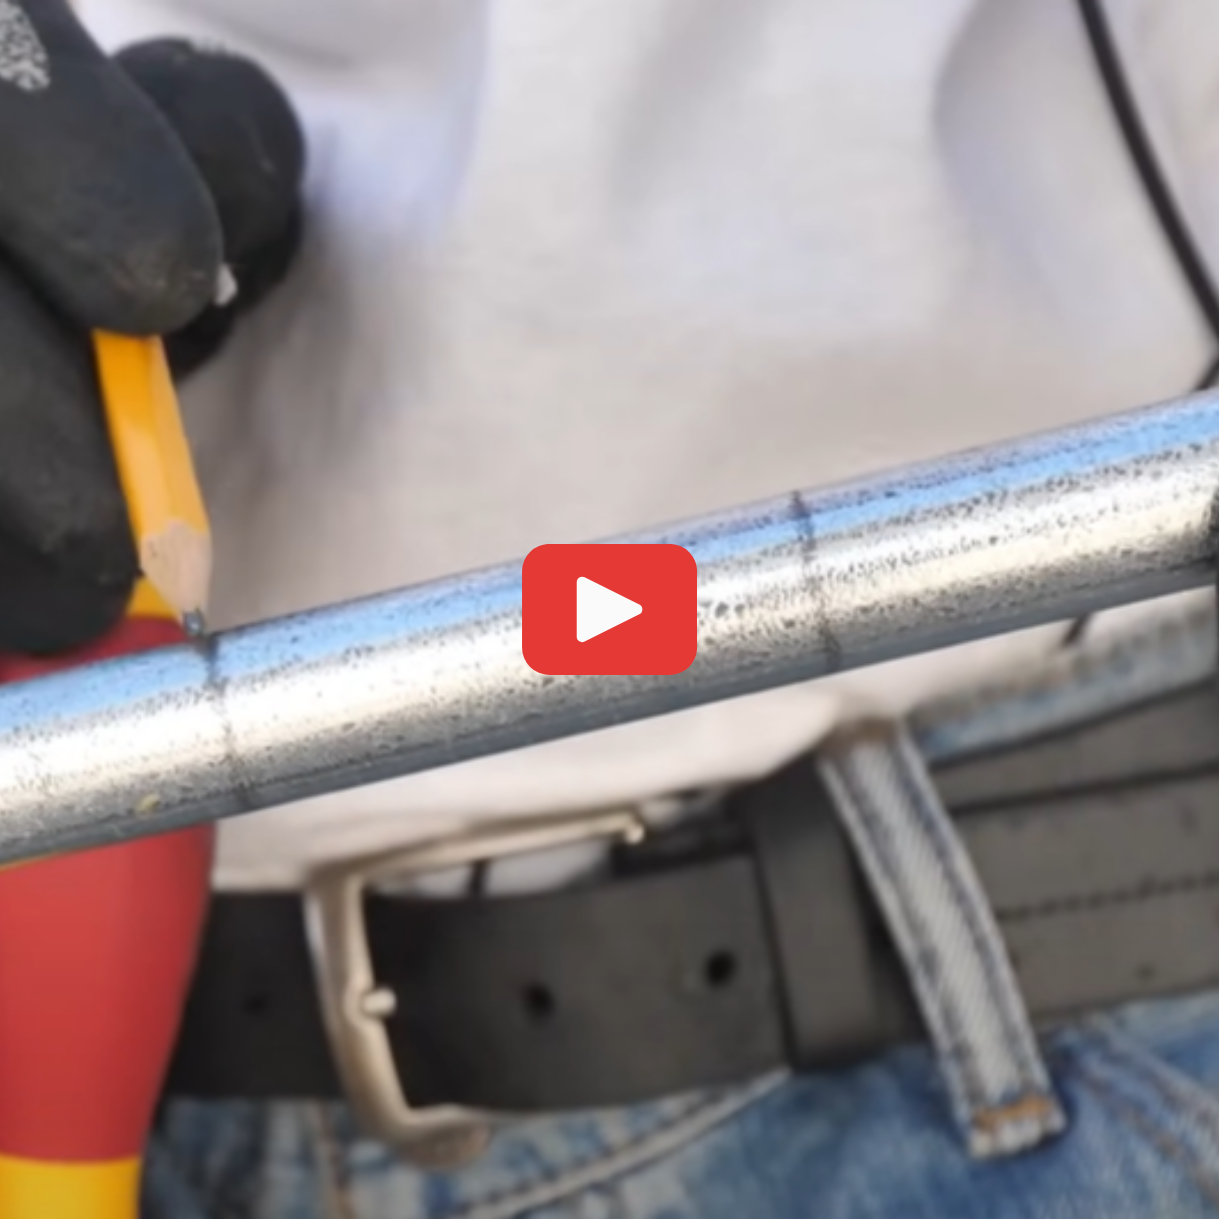
Marking Reference Points
Next, precisely mark the points where the bends will occur. Use these marks to align the conduit with the arrow of the bender. For the first box offset, mark where the first 10 degree bend starts. Follow by marking the second point 2 and 1/4 inches apart from the first.
Bending the EMT
Align the conduit with the bender arrow, placing your boot on the bottom handle to apply the necessary force. Bend the conduit to 10 degrees, then rotate it 180 degrees. Realign and perform the next 10 degree bend. Verify the integrity of the bends by checking their alignment and angle. This process ensures a professional finish, keeping the conduits parallel and concentric within the layout.
Three-Point Saddle Bend
Measurement and Shrink Calculation
To start, measure the distance from the end of the conduit to where the three-point saddle needs to start. For a 22.5-degree bend, the shrinkage factor is 3/16 of an inch per inch of obstruction height. If the obstacle is 3 inches high, add 9/16 of an inch for the shrink. Therefore, the center mark would need to account for this shrink, making it 33 and 9/16 inches.
Bend Angle Precision
The three-point saddle bend consists of three critical angles. The middle bend is set at 45 degrees, while the outer two bends are 22.5 degrees each. Using a conduit bender, ensure the middle mark of the conduit is placed on the notch and bend to exactly 45 degrees. Align your conduit correctly and bend the outer marks to 22.5 degrees each.
Center and Outer Mark Placement
Make sure to accurately place your center and outer marks. For the 3-inch high obstacle, multiply the obstruction height by 2.5 inches per inch of height. This yields 7.5 inches on either side of the center mark. Use a laser level if available to ensure perfect alignment with the existing conduits. All marks should align in the same plane for a professional look.
Setting Laser Level Lines
Level and Plumb Line Identification
Use a green cross line laser level, such as the Doyle 12-volt max, to clearly mark level and plumb lines. Identify the level line that runs horizontally and the plumb line that runs vertically. Make small marks on these lines to guide your conduit placement.
Applying Laser Line to Workspace
Position the laser level to ensure the lines are parallel to existing conduits, maintaining the required 2-inch spacing. Use the laser to plot the lines over obstacles, aiding in a consistent layout. Apply the marks at key points of the workspace, ensuring accuracy for bends and conduits.
Additional Conduit Considerations
Keeping Conduits Parallel
When working with conduits, maintaining parallel alignment is critical for a professional appearance and functional consistency. Start by setting up your workspace with a cross line laser level. This tool projects green horizontal and vertical lines, helping you place critical marks and maintain your conduits' parallelism.
For instance, if your job involves maneuvering around obstacles such as rigid conduits, use a 3-point saddle bend. Accurately measure the distance, including the necessary shrinkage. A common calculation for shrinkage is 3/16 of an inch per inch of height for a 22.5° bend.
Ensure consistent spacing, like maintaining a 2-inch gap between each conduit. Apply a 10° box offset when transitioning to another plane, and stay consistent with your bends by using multipliers to get precise measurements.
Maintaining Aesthetic Consistency
Align your conduit bends carefully to maintain aesthetic consistency. Use tools like benders with clearly marked notches and angles to achieve accurate bends. For instance, make sure your middle 45° bend in a 3-point saddle is exact, flanked by two 22.5° bends.
Always match the aesthetic lines of previously installed conduits. When bending for turns or vertical rises, keep each bend’s height and length consistent. For a 90° bend, use the star mark on your bender for precision.
Lastly, maintain your stub lengths accurately, progressively increasing them if paralleling multiple conduits. For example, if your third conduit has a stub length of 36 and 5/16 inches, the fourth would rise to 38 and 5/16 inches, and so forth.
By continuously checking and aligning your bends and spacings, you ensure a professional and uniform installation. This level of attention to detail sets a high standard in your conduit work.
90-Degree Bend Techniques
Measurement for Conduit Sequencing
To run the conduit professionally, maintaining parallel lines is crucial. If your boss gives you only one piece of EMT and 15 minutes to complete the task, start with a cross line laser level for precise measurements. Mark distances of 2 inches apart for a professional look. Use 10-degree bends at specific multipliers—3/8 inch times 6 gets you 2 1/4 inches. Ensure to line up conduit marks with the arrow on the bender for accurate bends.
Utilizing the Star on Bender for Accuracy
For the 90-degree bends, use the star mark on the bender, crucial for concentric bends. Measure each conduit, starting with the longest, successively adding 2 inches to the next. The fourth conduit is bent at 74 7/16 inches, so the fifth adds up to 76 7/16 inches. Adjust stub lengths similarly, ensuring a rise by 2 inches for each successive one.