Key Takeaways
- Learn to make precise marks for the three-bend saddle.
- Ensure correct alignment to avoid doglegs.
- Clean up your work for a professional finish.
Overview of a Three Bend Saddle
To make a three bend saddle, start with a six-foot piece of EMT conduit. Measure the center of the obstruction you need to bypass. For a two and a half inch obstruction, which will be cleared by half an inch (total three inches), follow these steps:
- Measure from the start of the conduit to the center of the obstruction.
- Add the shrinkage factor to this length. Shrinkage is calculated as 3/16 inch per inch of the obstruction's height. For a three-inch obstruction, it is 9/16 inch.
- Mark the conduit at this total distance (34 and 9/16 inches in this case).
Next Steps:
Measure and mark either side: Calculate two and a half inches per inch of height of the obstruction for the marks on either side of the center mark. For a three-inch obstruction, this is 7.5 inches on each side.
- Line up the center mark with the rim notch of the bender.
- Bend the conduit to 45 degrees at the center mark.
- Align each outer mark with the arrow on the bender.
- Bend each outer mark to 22.5 degrees to ensure smooth transitions.
Check your work: Place the conduit on a level surface to confirm the bends are accurate and free of doglegs. Clean off any pencil marks to give your conduit a professional appearance.
Memorize the key rules:
- Center mark at the middle of the obstruction plus shrinkage
- Outer marks at a distance based on the height of the obstruction
- Use the 22.5 and 45-degree bend format
By remembering these simple steps, you can make any three bend saddle without needing tables or apps.
Tools and Tips:
- Tape Measure: Kline Magnetic 25-foot with bending tables.
- Levels: Kline Digital Magnetic Level.
- Benders: Available in half inch, three-quarter inch, and one inch sizes in both aluminum and ductile iron.
- Safety: Always use appropriate safety gear like a full-brim hard hat and kneeling pads.
Materials and Tools Required
Materials:
- EMT Conduit: A six-foot piece of EMT conduit will be used.
- Obstruction: A two and a half inch obstruction that you need to clear by an additional half an inch.
Tools:
- Tape Measure: Klein magnetic 25-foot tape measure with conduit bending tables.
- Bender: Klein and Ideal conduit benders in half-inch, three-quarter-inch, and one-inch sizes, available in both aluminum and ductile iron.
- Marker: Pencil for marking the conduit.
- Cleaner: To clean off the pencil marks after bending.
- Level: Klein digital magnetic level for ensuring accurate bends.
- Hardhat: Klein full brim hardhat for safety.
- Kneeling Pads: Klein kneeling pads to protect your knees while working.
Make sure to have these materials and tools ready before starting your project to ensure smooth and efficient work.
First Mark Calculation
Finding the Center of Obstruction
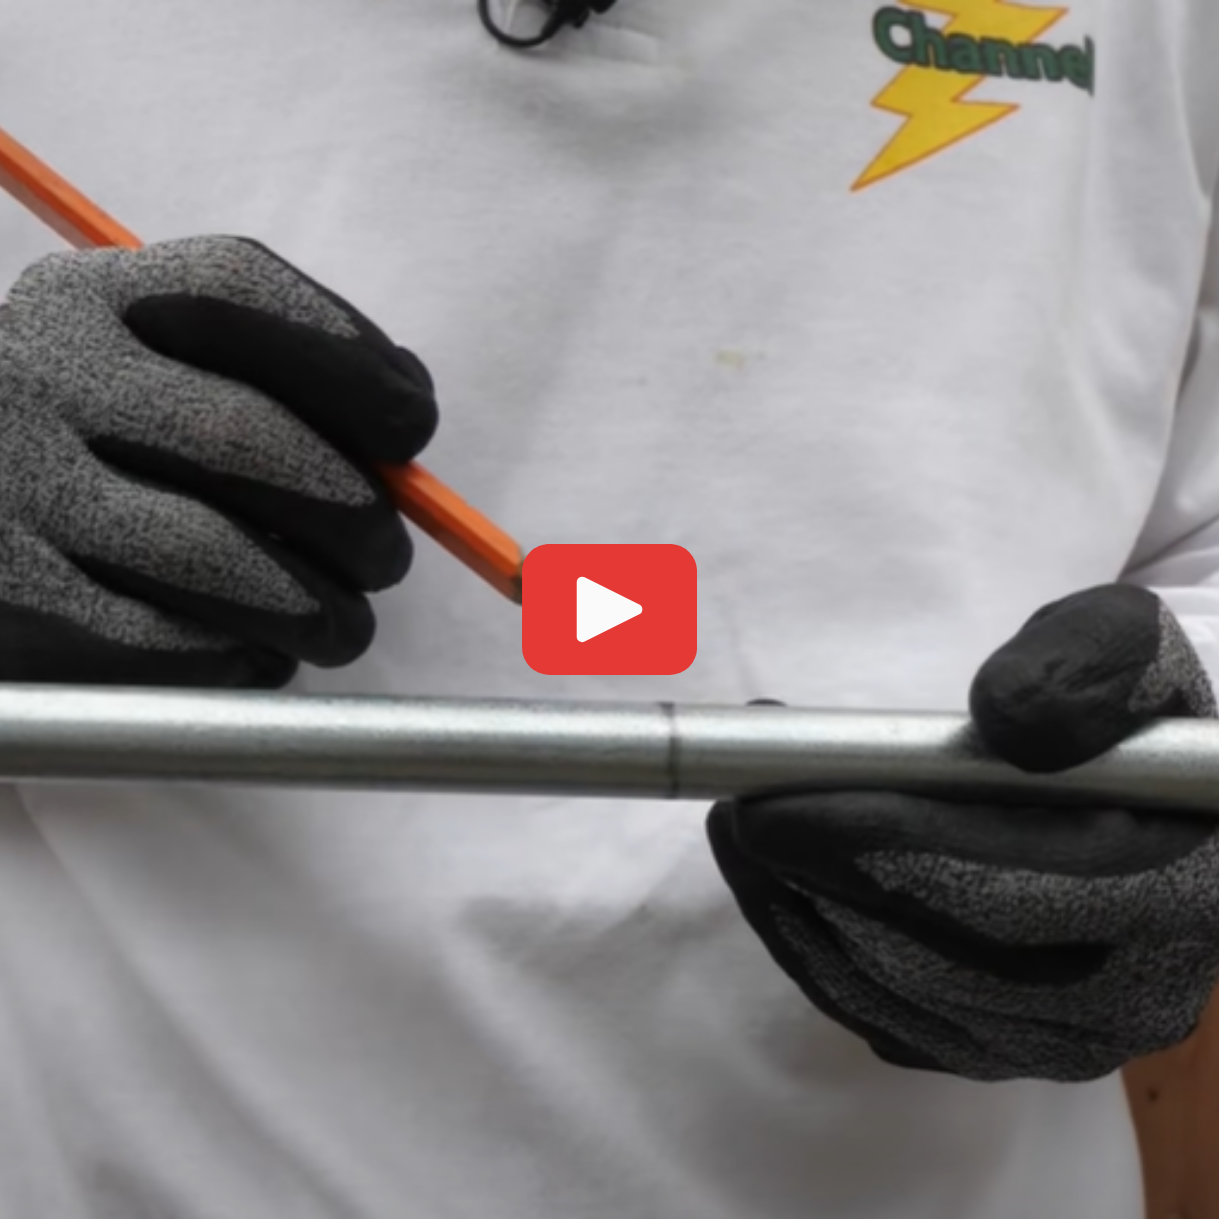
To determine the center of the obstruction, start from the beginning of the conduit. Measure up to the middle of the obstruction. For example, if the conduit begins at the edge of a fitting, measure from that point to the center of the obstruction. If the center is at 34 inches, mark this spot as the center.
Accounting for Shrinkage
Calculate the shrinkage by multiplying the height of the obstruction by the shrinkage factor. For a 3-inch obstruction with a shrinkage factor of 3/16 inch per inch of height, the shrinkage is 9/16 inch. Add this to the initial center measurement. For example, if your center measurement is 34 inches, the adjusted first mark would be at 34 9/16 inches. Mark this point clearly on your conduit.
Outer Marks Placement
First, identify the center of the obstruction. Measure from the starting point of your conduit to the center of the obstruction. Add the shrinkage value, which is determined by multiplying 3/16 by the height of the obstruction in inches.
For example, if the height of your obstruction is 3 inches, the shrinkage is calculated as follows:
|
Height of Obstruction |
Shrinkage Calculation |
Total Shrinkage |
|
3 inches |
3/16 x 3 |
9/16 |
Add the calculated shrinkage to the initial measurement. If your obstruction is 34 inches from the starting point, the placement of the center mark would be:
34 inches + 9/16 inches = 34 and 9/16 inches.
Next, mark the two outer points. Each outer mark should be placed at a distance of 2.5 times the height of the obstruction from the center mark. For a 3-inch obstruction, this distance is:
2.5 x 3 = 7.5 inches.
Place these marks on both sides of the center mark.
Step-by-step process:
- Measure from the conduit start to the obstruction's center.
- Add the shrinkage value to determine the center mark location.
- Mark 7.5 inches on each side of the center mark for the outer points.
- Line up the center mark with the rim notch of the bender.
- Ensure the conduit is in the same plane to avoid a dogleg.
Align the center mark with the rim notch and bend to 45 degrees. Then, align each outer mark with the arrow on the bender and bend to 22 degrees twice. Always keep the conduit in the same plane during these steps to ensure accurate bends.
Executing the Bends
Aligning the Center Mark
Mark the center of the obstruction on your pipe, ensuring to add shrinkage. For a 3-inch obstruction, the shrinkage is 9/16 inches. Thus, if the center of the obstruction measures 34 inches, the final center mark is at 34 and 9/16 inches. Align this center mark with the rim notch on your bender.
Bending to 45 Degrees
Place the middle mark on the rim notch. Bend the conduit to 45 degrees while keeping the mark aligned. Ensure the pipe remains in the same plane to avoid a dogleg.
Making Outer Bends
Measure 7.5 inches on either side of the center mark for outer bends. Align these marks with the arrow on the bender, maintaining the same plane, and bend each to 22 degrees. Place the pipe on a level to check alignment. Clean off pencil marks for a professional finish.
Tips:
- Remember: 2.5 inches per inch of obstruction height.
- Shrinkage: 3/16 inches per inch of obstruction height.
- Bending angles: 22.5 degrees and 45 degrees for a three-point saddle bend.
Alignment and Leveling Checks
When you're working on the three bend saddle, precision is key. First, mark the center of the obstruction plus the calculated shrinkage. For example, if your center is at 34 inches and your shrinkage is 9/16 inches, your first mark will be at 34 and 9/16 inches.
Now, make two additional marks on either side of the center mark. These marks will be 2.5 inches per inch of the obstruction height. For a 3-inch obstruction, you’ll mark 7.5 inches on each side.
Next, align your center mark with the rim notch on the bender. Bend to 45 degrees for the middle mark. Ensure the pipe stays in the same plane to avoid a dogleg. For the outer marks, align with the arrow on the bender and bend to 22 degrees.
Lastly, place the conduit on a level surface and check your work with a level to confirm. If necessary, clean off your pencil marks for a professional finish.
By memorizing these simple rules and using tools like the Klein magnetic 25-foot tape measure with bending tables, you can make precise three-point saddle bends efficiently.
Cleaning and Finishing Touches
After successfully creating your three-bend saddle, it's vital to focus on the cleaning and finishing touches to ensure a professional appearance. Cleaning involves removing any pencil marks from the conduit. Use a cleaner to wipe off the marks, as this creates a polished look.
Tips for Finishing:
- Check Alignment: Ensure the middle bend aligns perfectly with the center of the obstruction.
- Verify Angles: Use a level to confirm that your bends are accurate and consistent.
- Mark Removal: Carefully clean off any remaining marks to enhance the neatness of the finished product.
By following these steps, you ensure your work not only functions well but also looks clean and professional.
Recap and Rules Summary
To complete a three-bend saddle:
- Measure the center of the obstruction and add the shrinkage.
- Example: If the center of the obstruction is 34 inches and the shrinkage is 9/16 inch, your first mark is at 34 9/16 inches.
- Mark the two outer points based on the height of the obstruction.
- Use the formula: 2.5 inches times the height of the obstruction.
- For a 3-inch obstruction, the marks will be 7 1/2 inches on either side of the center mark.
Calculation Summary
|
Parameter |
Formula |
Example |
|
Center Mark |
Center + Shrinkage |
34 inches + 9/16 inches |
|
Shrinkage |
3/16 inch per inch of height |
3 inches × 3/16 inch = 9/16 inch |
|
Outer Marks |
2.5 inches per inch of obstruction height |
3 inches × 2.5 inches = 7 1/2 inches |
Bending Process
- Align the center mark with the rim notch on the bender.
- Bend to 45 degrees at the center mark.
- Align the outer marks with the arrow on the bender.
- Bend each to 22 degrees to complete the saddle.
Tools and References
- Use a Klein magnetic tape measure for accurate marking.
- A Klein digital magnetic level can ensure precision in bends.
- Refer to conduit bending tables and memorize essential measurements to expedite the process.
Additional Resources and Tool Links
To make your conduit bending projects easier and more accurate, consider checking out the following tools and resources. These have been recommended based on practical experience.
Tape Measures
- Klein Magnetic 25-Foot Tape Measure
- Features conduit bending tables.
Levels
- Klein Digital Magnetic Level
Conduit Benders
|
Size |
Material |
Brand |
|
Half Inch |
Aluminum |
Klein, Ideal |
|
Three-Quarter Inch |
Ductile Iron |
Klein, Ideal |
|
One Inch |
Aluminum, Ductile Iron |
Klein, Ideal |
Safety Gear
- Klein Full Brim Hardhat
- Klein Kneeling Pads
These tools and resources can significantly improve the precision and efficiency of your work. For further details and purchasing options, you'll find the necessary links in the video description.