Key Takeaways
- You need the right tools for effective crimping.
- Correct wire preparation impacts crimp reliability.
- Proper tool usage prevents common crimping mistakes.
Required Tools and Connectors
Choosing the Right Crimper
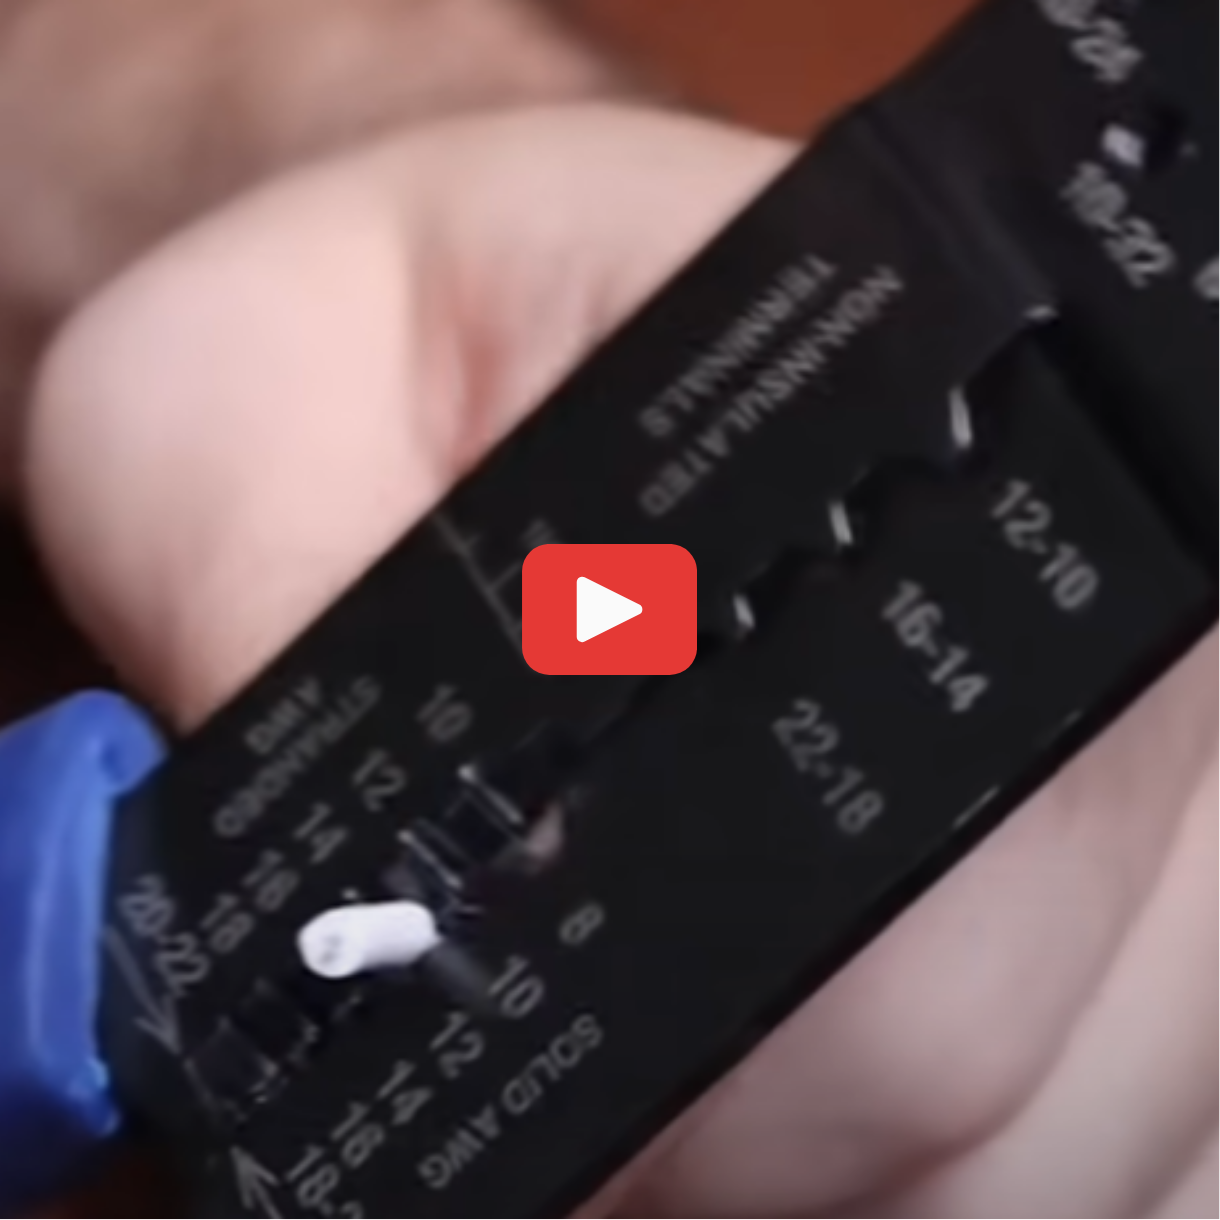
When selecting a crimper, prioritize having a specialized crimping tool. These provide the best results for precision and reliability. A standard crimper can work, and in urgent situations, even a set of pliers might suffice, but they're not ideal. Look for tools with specific labels for insulated and non-insulated terminals, ensuring the crimp is correct and secure. A word of advice: avoid cheap tools with incorrect gaps as they may lead to improper crimps.
Types of Crimp Connectors
Crimp connectors can be categorized as insulated and non-insulated. Insulated connectors are generally more common and available in a variety of terminal ends. Non-insulated connectors do not have color coding but are marked with the wire gauge they fit. Knowing the difference allows you to choose the right type for your specific wiring needs.
Understanding Connector Size and Insulation
For insulated connectors, the wire size is classified by color: red for 22 to 16 gauge wire, blue for 16 to 14 gauge wire, and yellow for 12 to 10 gauge wire. Non-insulated terminals lack this color coding but are stamped with the corresponding wire size. Always check the stamps to confirm the correct size. Proper sizing ensures a tight and secure fit, critical for reliable electrical connections.
Preparing Wires for Crimping
Stripping the Wire
To start, it's essential to strip your wire to the correct length, which is around a quarter of an inch. Using wire strippers of the correct size is crucial to avoid damaging the strands. Engage the cutters twice if needed to ensure a clean cut all the way around. After this, ease off the pressure and smoothly pull the insulation away. If removing the insulation feels difficult, you might be using the wrong size.
Inspecting Wire Quality
After stripping the wire, closely inspect it to ensure the quality of the strip. A good strip should have no nicked or damaged strands, and the cut should be straight. Check that the insulation isn't stretched. If the wire looks good, insert it into the wire barrel. Make sure all strands are together to prevent them from fraying. The wire should be visible on the other side, with the insulation fully covering it. Avoid letting the insulation enter the barrel, as the length and size should prevent this from happening.
Crimping Insulated Connectors
Inserting the Wire into the Connector
To crimp insulated connectors, start by removing about a quarter of an inch of insulation from your wire. Use the correct cutter size to avoid damaging the wire strands. It's important that the insulation is not stretched and the cut is square and clean. Once stripped, the wire needs to be inserted into the connector's barrel. Ensure the wire strands are tight together to prevent fraying. The wire insulation should fit snugly under the terminal insulation without excess wire exposure.
Using the Crimping Tool
After inserting the wire, choose the correct crimping tool size, indicated typically by color coding. For instance, if you're working with a blue connector, use the blue size on your crimper. Position your tool slightly behind the edge of the connector, not right at it, to achieve a firm crimp. Apply firm pressure to secure the connection. The goal is a tight crimp with visible wire ends and a bell mouth appearance at the insulation's end.
Ensuring a Secure Connection
Once crimped, it's essential to check the connection. Tug firmly on the connector and wire to ensure that they are securely bound. This step confirms the crimp's strength and integrity. With proper technique, the wire should remain securely attached, providing a reliable connection for your project needs.
Crimping Non-Insulated Connectors
Positioning the Connector in the Crimping Tool
When working with non-insulated connectors, ensure you have identified the correct side of your crimping tool. The tool typically has a divot on the side meant for non-insulated crimps. Match the wire size by checking the stamp on the connector, which indicates its compatibility.
Before crimping, strip around a quarter of an inch from your wire. Insert the wire into the barrel of the connector, ensuring it is visible on the opposite side, while the wire insulation remains covered by the connector. Avoid letting the insulation enter the barrel to maintain a secure fit.
Executing the Non-Insulated Crimp
Once positioned correctly, align the tool's divot with the non-gap end of the connector barrel. Firmly press down to crimp the wire; a secure crimp will show a visible wire and a tight connection. Test its strength by tugging gently.
Properly crimping requires the right tools. Avoid poorly designed crimpers that may not provide the necessary pressure. If you're using a basic tool, ensure it matches the wire gauge to achieve a dependable crimp.
Common Mistakes and Misconceptions
Incorrectly Identifying Connector Sizes
A frequent mistake is assuming that the size of the ring connector correlates with the gauge of the wire. For instance, it's logical to think a smaller ring connector is meant for smaller wire and a larger one for larger wire. Despite their different physical sizes, both connectors might fit the same gauge wire, like 16 to 14 gauge. Always check the stamp on the connector for the exact size.
Sizes are typically color-coded for insulated connectors:
- Red: 22 to 16 gauge
- Blue: 16 to 14 gauge
- Yellow: 12 to 10 gauge
Uninsulated connectors do not have color indicators. Despite this, they are stamped with the appropriate gauge numbers to avoid confusion. Double-check the stamp rather than relying solely on visual size comparison.
Proper Crimp Location on Terminals
Crimping requires careful attention to the placement of your tool, especially for insulated and non-insulated connectors. Insulated terminals use the section of your tool labeled specifically for them, with a rounded end for a proper seal. It's pivotal to position the crimp slightly behind the terminal's edge for optimal security.
For non-insulated terminals, the tool should have a divot that you align with the non-gap end of the barrel. This ensures the crimp is firm and secure. Your instinct might tell you to crimp on the gap side, but following the manufacturer's instructions guarantees a reliable connection. To verify the strength of your crimp, give the wire a gentle tug after crimping. A successful crimp holds tight without loosening.
Tips for Reliable Crimping
Avoiding Substandard Tools
When you're setting out to crimp connectors, always choose your tools wisely. While cheaper crimpers might seem appealing, they may not correctly crimp your connectors due to improper gaps. A dedicated crimper is preferred over a standard, inexpensive one. It's worth investing in a quality tool to ensure your crimps are secure and reliable. In a pinch, pliers can be used, but this should be a last resort. Consistency and precision are key in achieving the best results.
Professional vs DIY Crimping Standards
As a DIY enthusiast, using standard tools effectively can help you achieve good quality crimps. For insulated terminals, using a crimper with a rounded end is more straightforward. For non-insulated ones, use the side with a divot for an accurate crimp. Inspect the first few attempts to ensure you have a clear understanding of the process.
If you're aiming for professional-level quality, consider using specialized tools. Professionals often use tools that mark the connector when a crimp is properly executed, guaranteeing consistency and quality across multiple applications. This adds an extra layer of assurance that could be particularly vital in critical applications.